Table of Contents
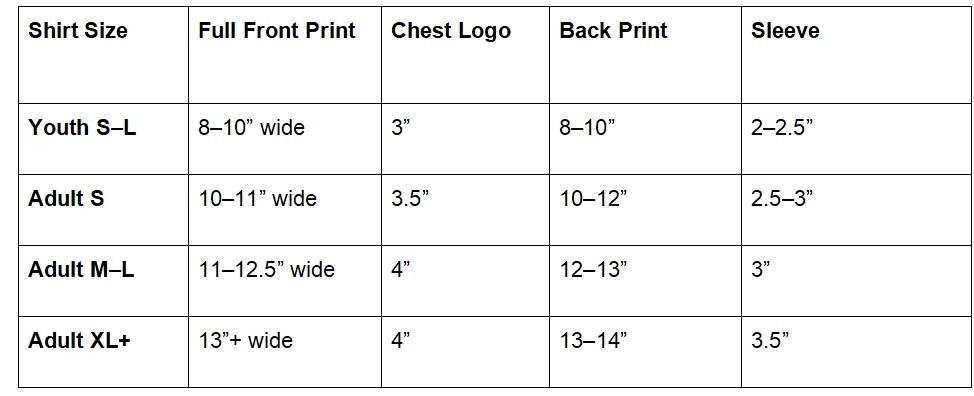
Common DTF Print Sizes for Shirts
Full Front or Back Prints
Chest or Left Pocket Logo
Mid-sized Center Prints
Sleeve Prints
Neck Tag Prints (Inside label modification)
Factors Influencing DTF Print Size
1. Garment Size (S–XXXL)
2. Print Head and Film Size Limits
3. Heat Press Platen Dimension
4. Design Specifics
DTF Sheet Layout & Gang Sheet Strategy
What Is a Gang Sheet?
Choosing the Right Print Size
Focus on Design
Focus on Wearer
Garment Type
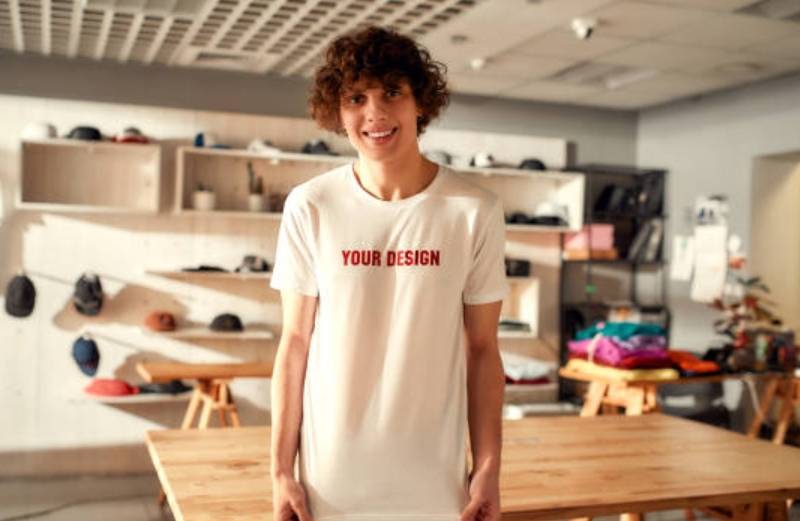
Mockups & Testing
DTF Print Sizes Chart
Tips for Scaling and Positioning
Keep the Aspect Ratio
Try It on a Template First
Use Positioning Tools
Conclusion

About the Author - Joyce
Joyce has worked with Procolored since the first day she joined inkjet printing career. Through continual training courses and years of working experiences, Joyce has formed a comprehensive understanding over Procolored products and a thorough knowledge of printing technologies.
Subscribe
To join our mailing list
and never miss our updates!

Subscribe
To join our mailing list
and never miss a baby update!
Subscribe
To join our mailing list
and never miss our updates!
Most Popular Blogs
Procolored Product Support Library

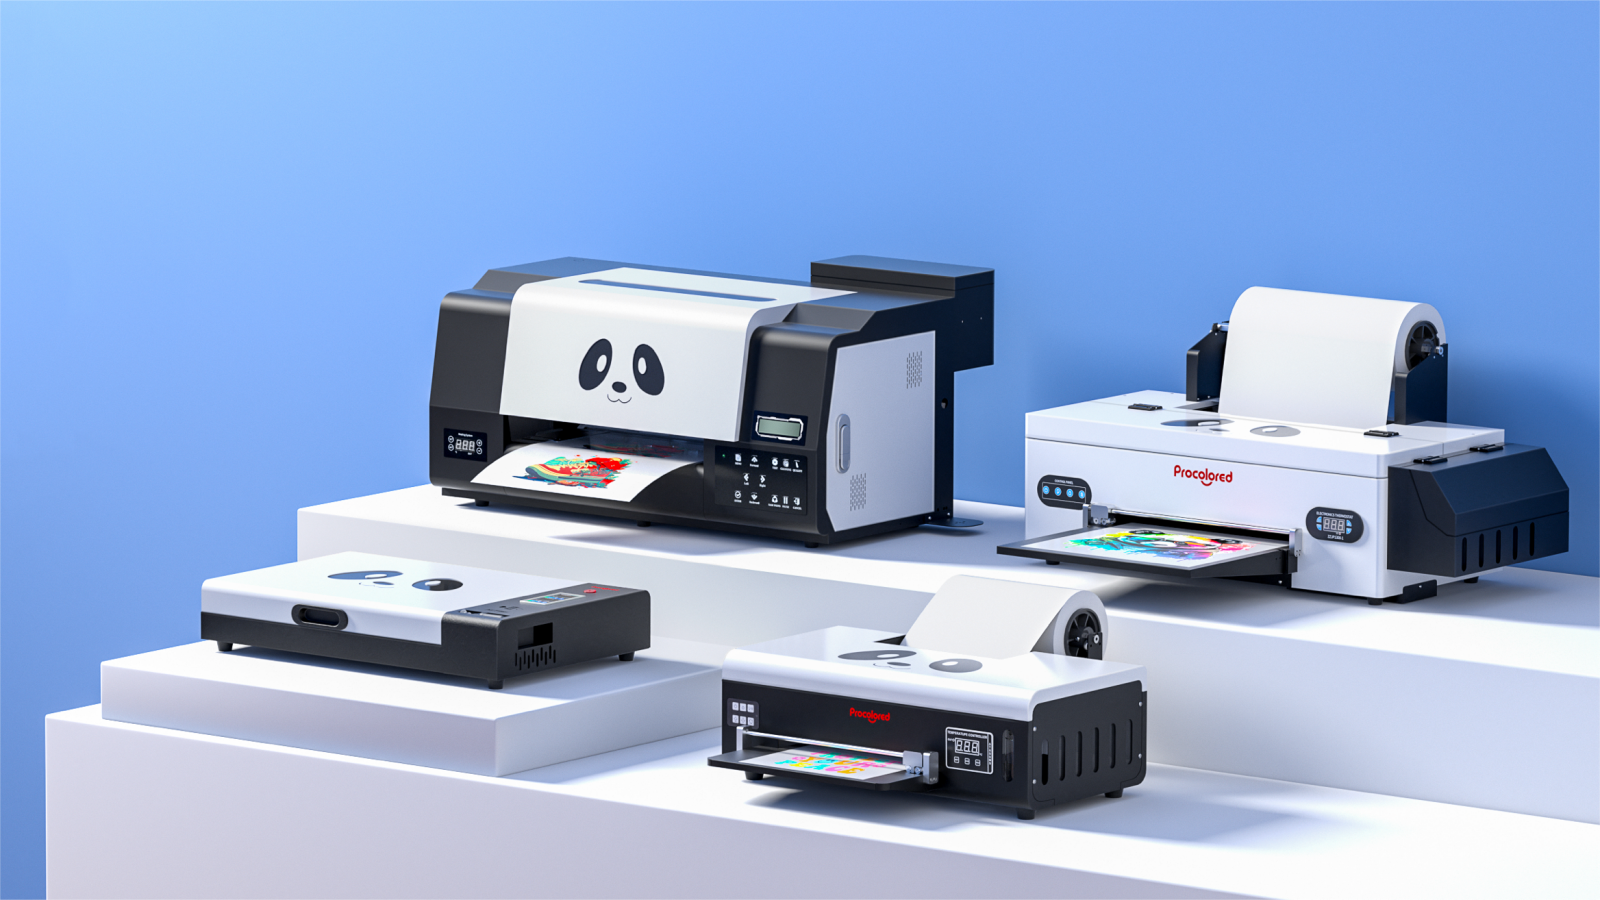
Which Procolored DTF Printer Should You Get?