Table of Contents
The Science Behind DTF Transfer Durability
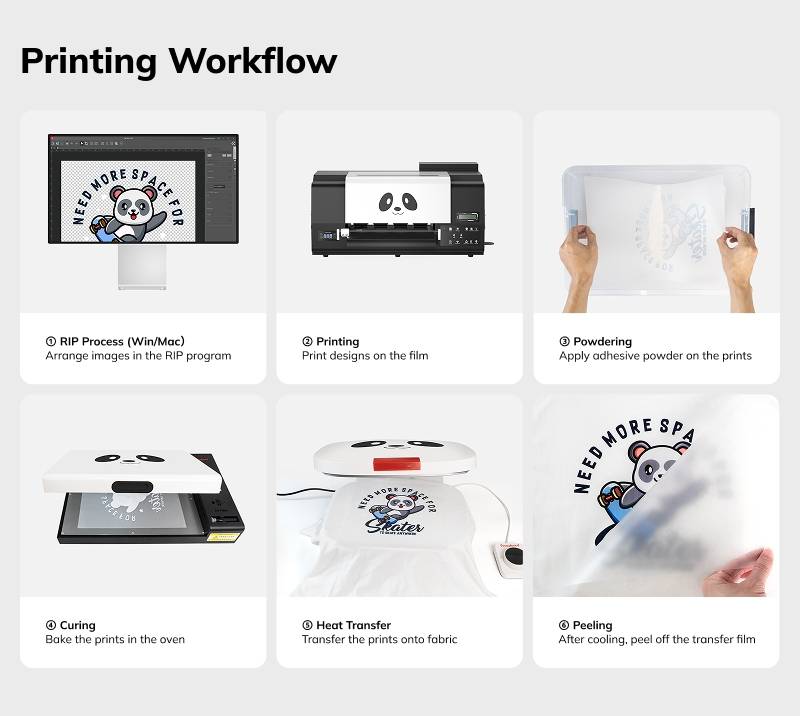
A. How DTF Transfers Work (Simplified)
B. Why Cracking or Flaking Happens
Top 7 Reasons Your DTF Prints Are Cracking or Flaking
1. Incorrect Curing Temperature or Time
2. Poor Ink Quality or Flow
3. Low-Grade or Overused PET Film
4. Bad Adhesive Powder Application
5. Poor Pressure or Uneven Heat Application
6. Incompatible fabrics
7. Low-Quality Printer Heads or Other Mechanical Issues
How to Prevent Cracks: Pro Tips That Actually Work
A. Nail the Temperature & Time

B. Don’t Skimp on Film & Powder
C. Apply Powder Evenly
D. Pre-Press Your Fabric
E. Use a Solid Heat Press
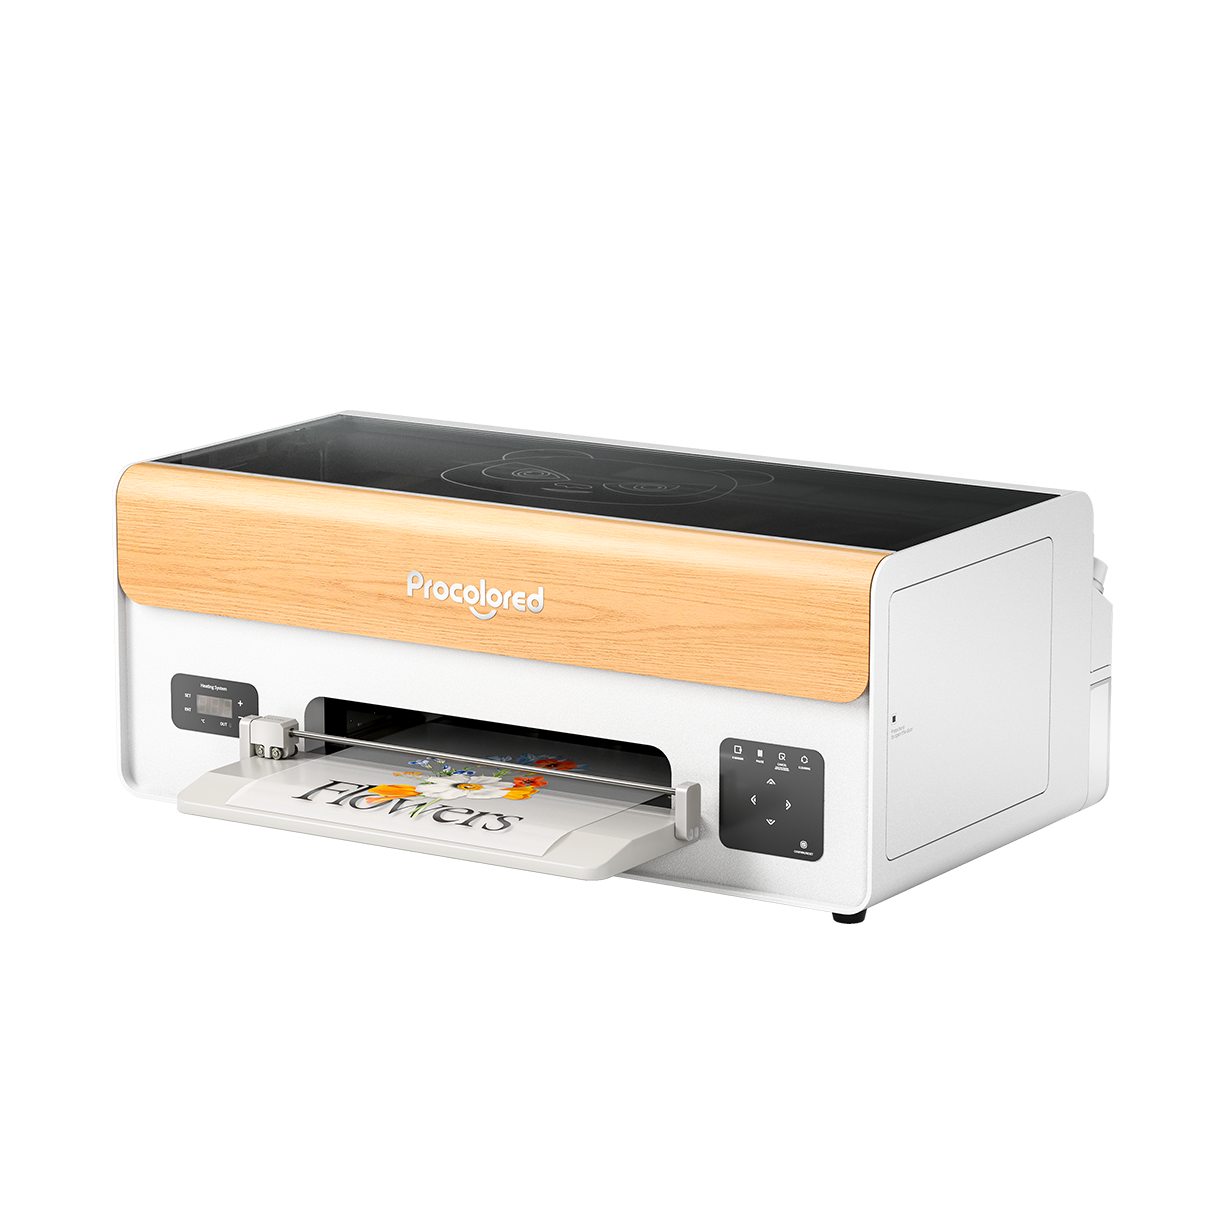
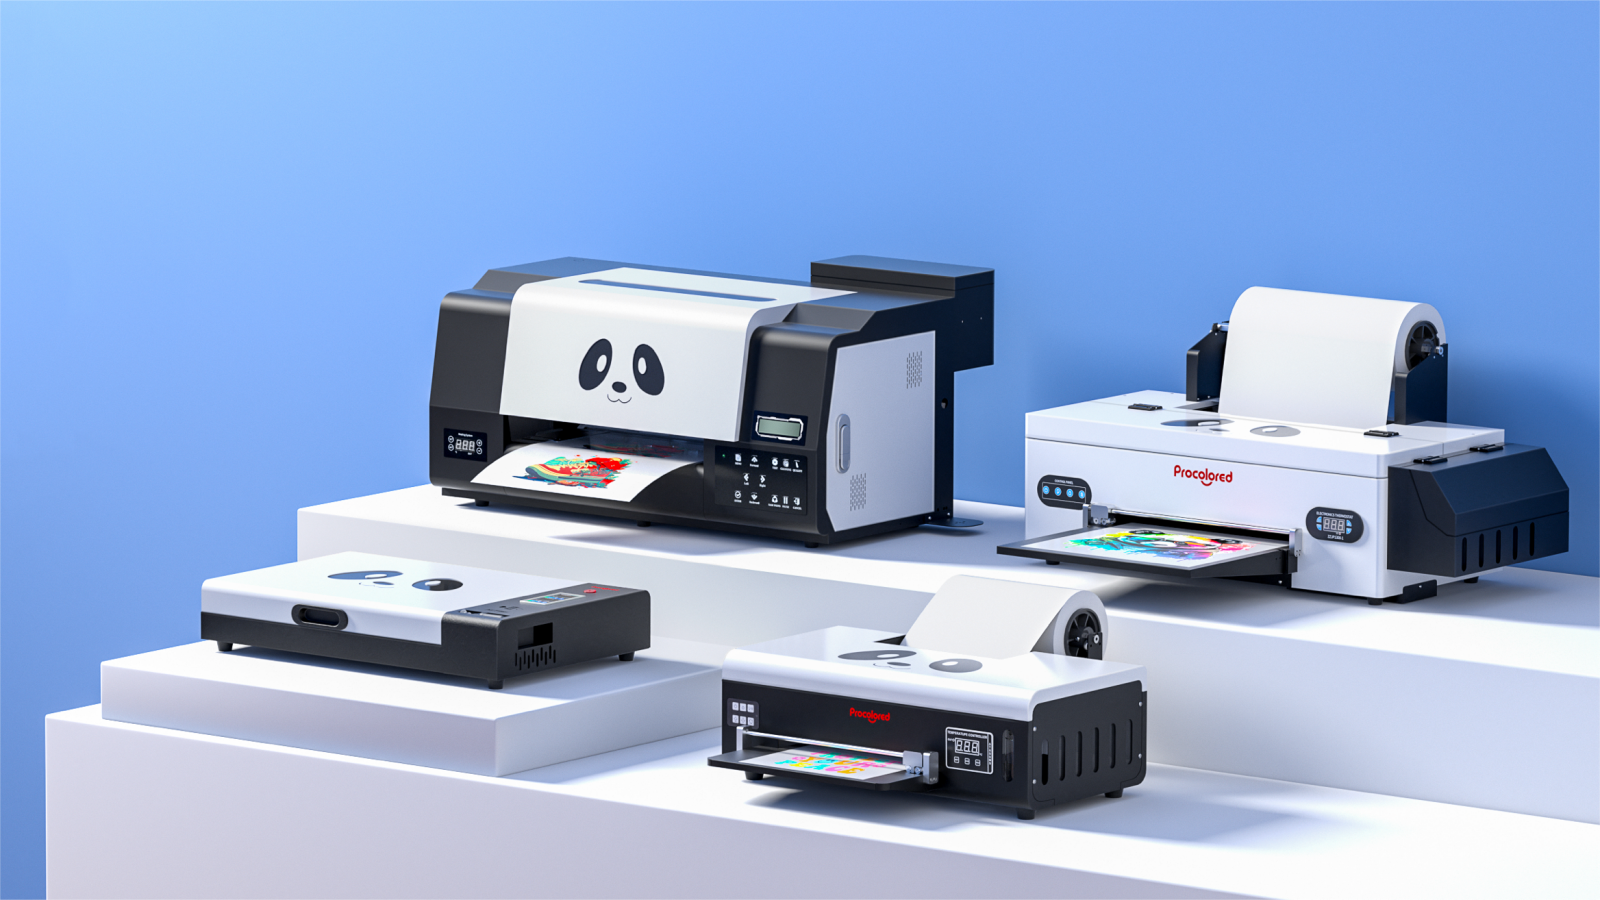
Why Procolored DTF Printers Make All the Difference
Troubleshooting: Fixing Prints That Are Already Cracked
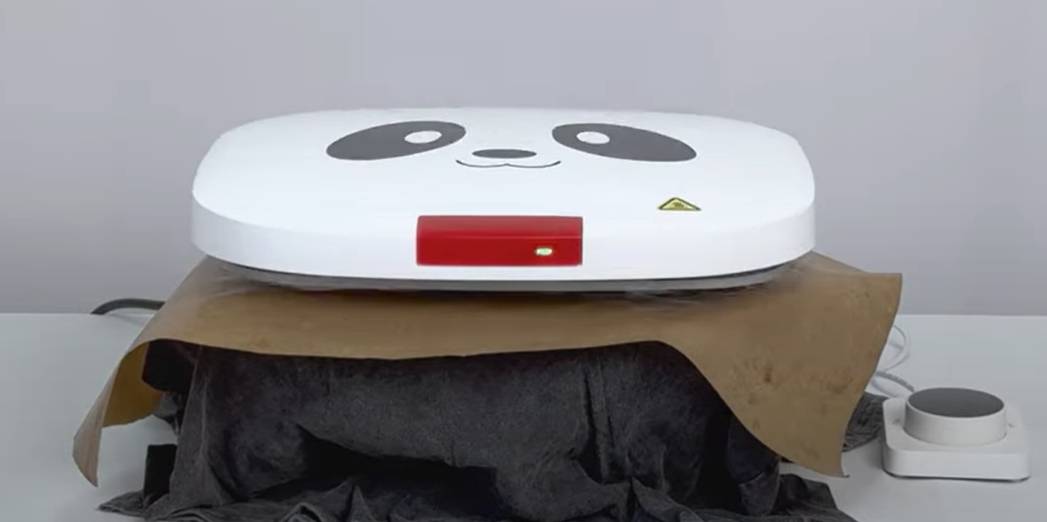
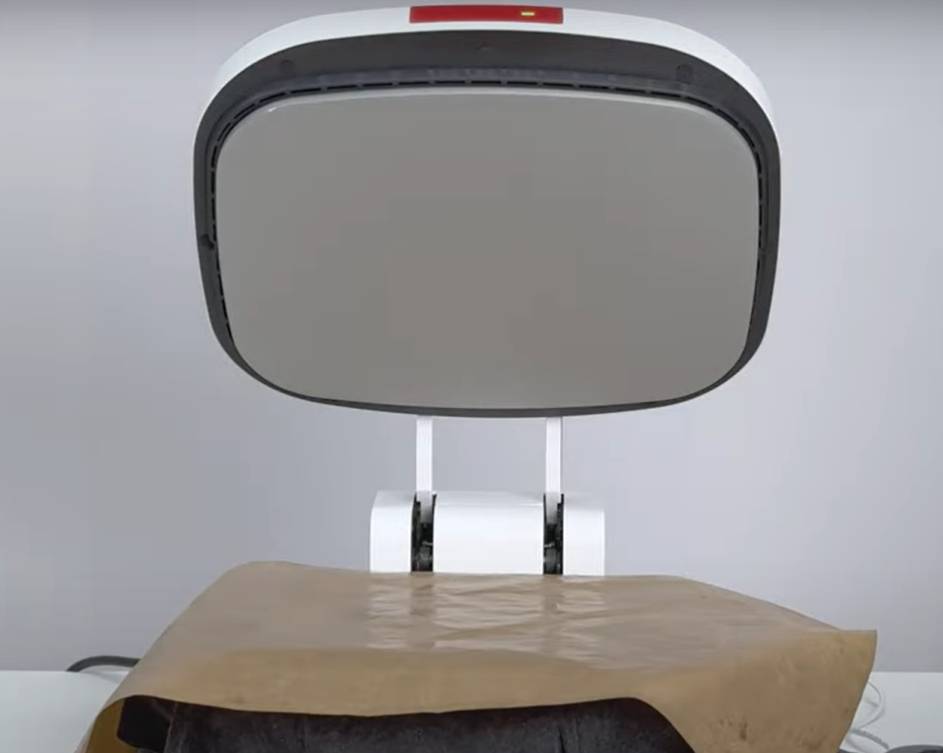
A. Heating it with Butcher Paper
B. Try Double-Press Method
C. Swap Out Your Film Or Powder
Care Instructions for Long-Lasting DTF Prints
Final Thoughts

About the Author - Joyce
Joyce has worked with Procolored since the first day she joined inkjet printing career. Through continual training courses and years of working experiences, Joyce has formed a comprehensive understanding over Procolored products and a thorough knowledge of printing technologies.
Subscribe
To join our mailing list
and never miss our updates!

Subscribe
To join our mailing list
and never miss a baby update!
Subscribe
To join our mailing list
and never miss our updates!
Most Popular Blogs

Procolored Product Support Library

Which Procolored DTF Printer Should You Get?